| Wood
cheeks for your MiniBrute |
| DISCLAIMER : Any modification to any MiniBrute will immediately void its warranty. Arturia or any of its affiliates will not accept responsibility for any damages, personal loss or injury that may result from any modification to the device. Should you apply any of the hacks and modifications described on this site, your own responsability alone is engaged. |
| Unmounting the
plastic cheeks |
|
Put your MiniBrute upside-down on a
soft surface in order to avoid strain on the
potentiometers and keys.
Find, unscrew and put in a spare box : the twelve screws shown by the red arrows in the photo below. It is not necessary to unscrew the four screws on the front. 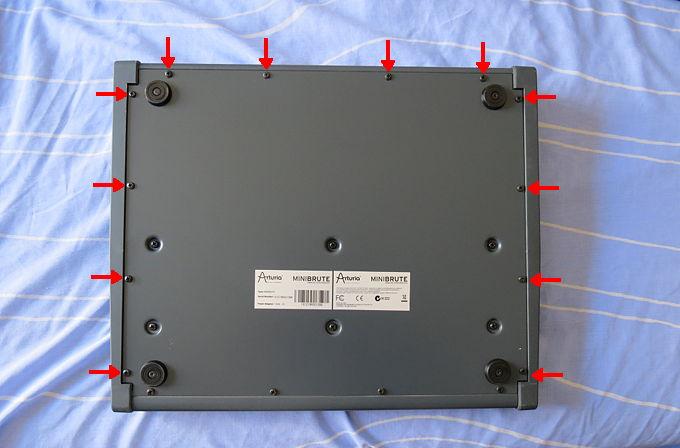 |
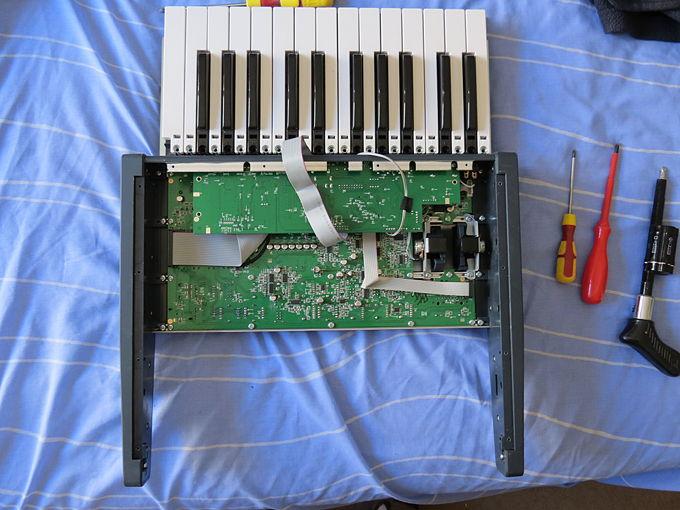
Gently remove the plate et tilt
backward the plate with the keybed. Make sure that you
don't stress the connection ribbons. Slide the font
plate underneath the potentiometers such that the back
of the keys of the keybed come in contact with the rear
plate of the MiniBrute as shown in the photo below.
 |
Locate the four screws that secure
the plastic cheek to the chassis (red arrows in the
photo below).
Remove and spare them, then release the plastic cheek from the chassis. Do the same for the other plastic cheek. 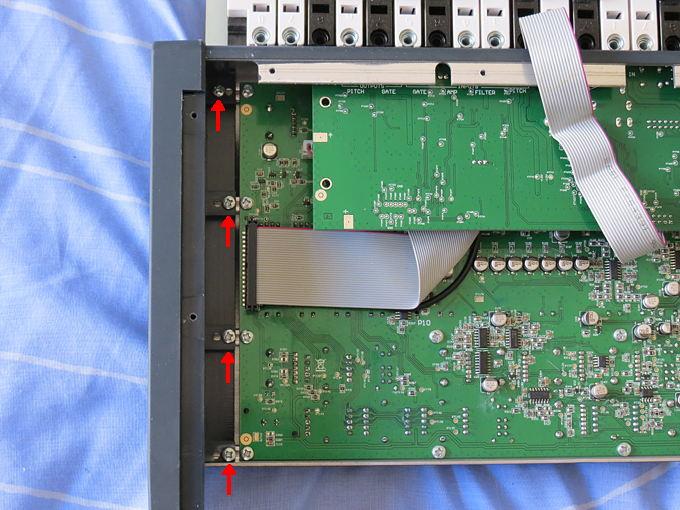 |
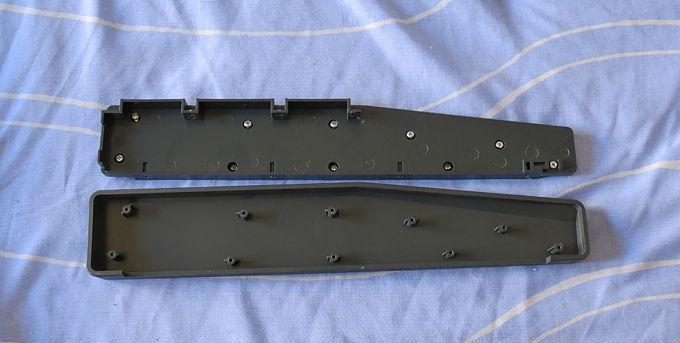
Once freed it can be seen that the plastic flank is made of two components: the exernal cheek itself and a fixation plate. These are maintained together by ten screws.  |
The plastic cheeks must disasembled
to be used as a template for the cutting of the wood
pieces. Therefore remove the ten screws and spare them
in a box, then separate the cheek from the plate.
 |
| Cutting out
the wood cheeks |
I chose to use birchwood for the
cheeks firstly because I like the grain or texture of
birchwood, and on second hand it can be crafted quite
easily with simple usual tools such as a handsaw to
cut-out the pieces, and a wood rasp to shape the pieces
and make chamfers.
I used a 20mm (0.787 inch) thick birch board originally
sold to be used as shelf board.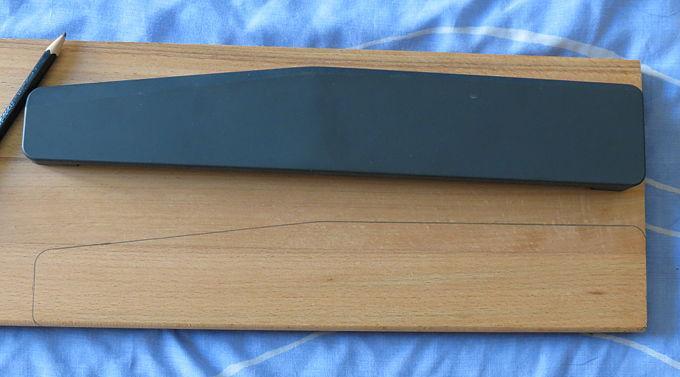 |
Below the result of the cut wood piece obtained with the handsaw. The result is quite good indeed. 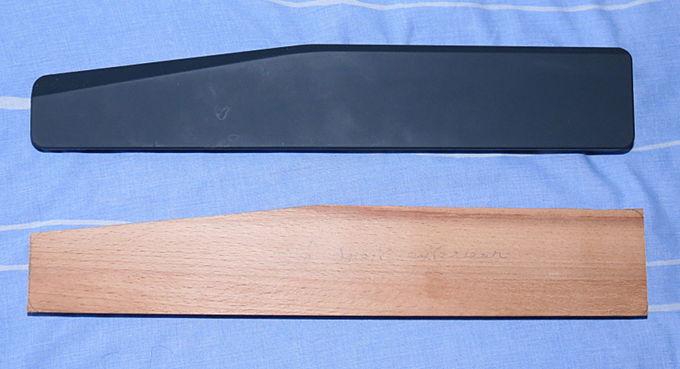 |
After shaping the round corners, chamfers and then polishing, the two birchwood cheeks are nearly ready. |
 |
Now comes the tricky part, a long rebate (275mmx9mmx3mm) must be etched on the inner edge of the basis of the cheeks. If you have a router or a shaping machine. Otherwise it can be etched with a chisel but it is quite time consuming (that's what I did by the way ;-) ).  |
One of cheek with the rebate, and the second waiting to be etched... 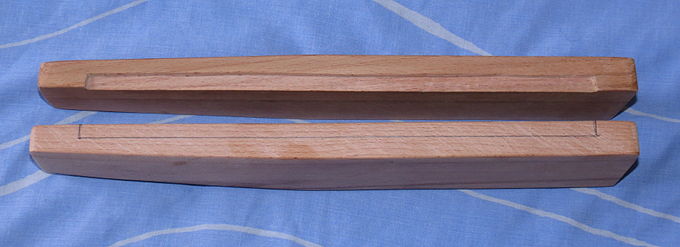 |
| Mounting the wood cheeks |
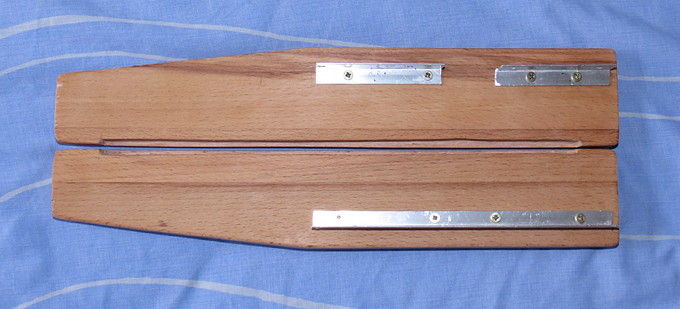
In order to secure the wood cheeks I used two L-shape aluminium (15mmx10mmx1.5mm) sold by the meter. I cut two pieces of 17.4 m. 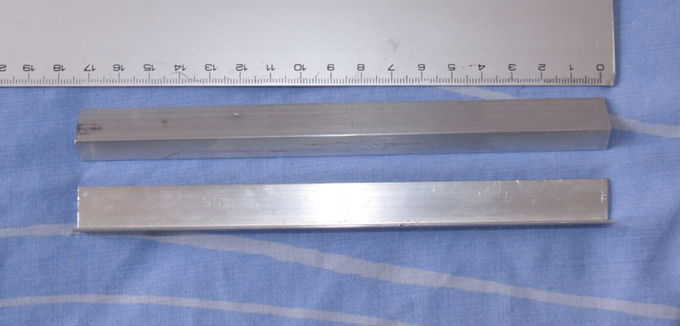 |
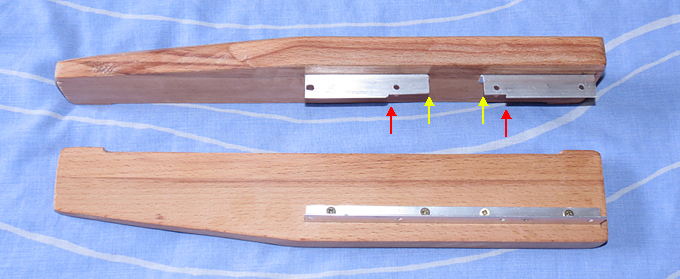
After drilling the holes for the
fixation to the chassis (long side of the L) and those
for the fixation to the cheek (short side of the L). The
piece that is to be fixed in the left cheek must be cut
into two shorter pieces in order to leave space (yellow
arrows) for the potentiometer of the Pitch Bend wheel.
Further more a 2mm band (red arrows) must be filed away
to make room for the fixation plate of the wheels.
  |
Now a quick assembly of all the parts to check that all is ok and fits.  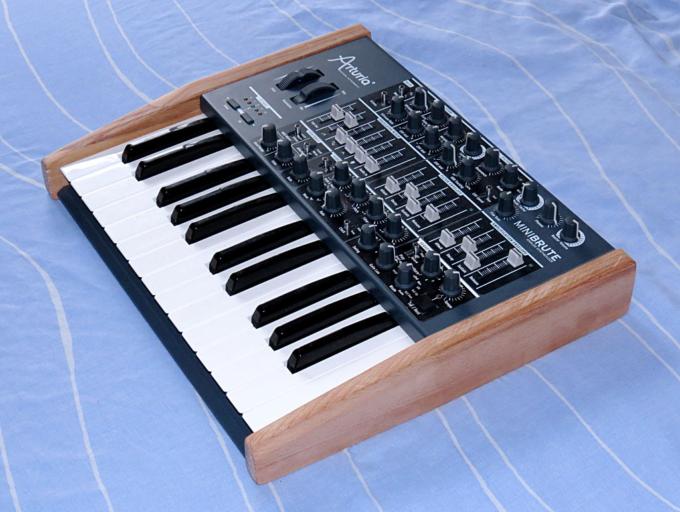 Well ut seems I did a good work and
no adjustment is required. It is time give a nice
finish to the wood parts...
|
| Oiling and
waxing and assembling the wood cheeks |
To finish the cheeks I used liquid wax with a medium oak tint. After spreading a first layer, letting dry, polishing with a soft cloth, then adding a second layer, drying and polishing the woodcheeks we may proceed to the re-assembly. The photo below shows the two waxed wood cheeks. The small piece of raw birchwood on top of this photo makes it possible to see the effect of the waxing. 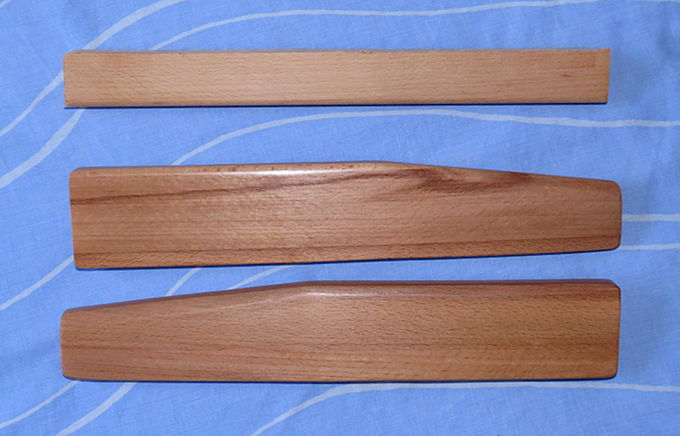 |
Now we can mount the cheeck to the chassis using the l brackets and the 8 fixation screws.  |
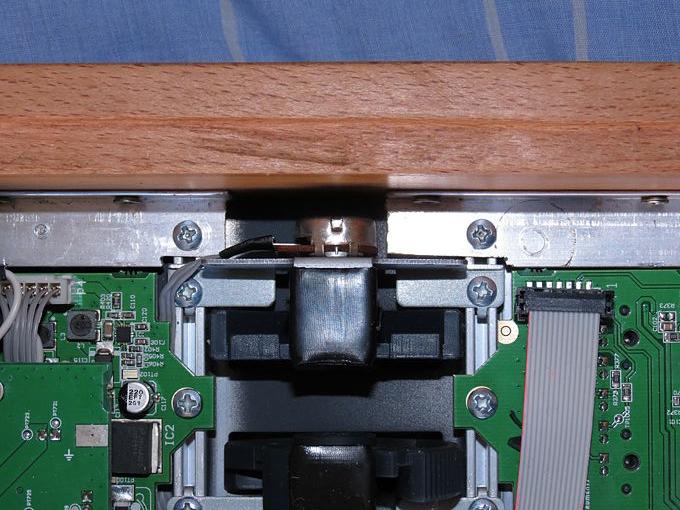
This view shows the details of
mounting of the left cheek et illustrates how the two
pices of L bracket come on the sides of the
potentiometer of the Pitch Bend wheel.
 |
Now it is time to install the keybed and the bottom plate and secure it with its 12 screws. 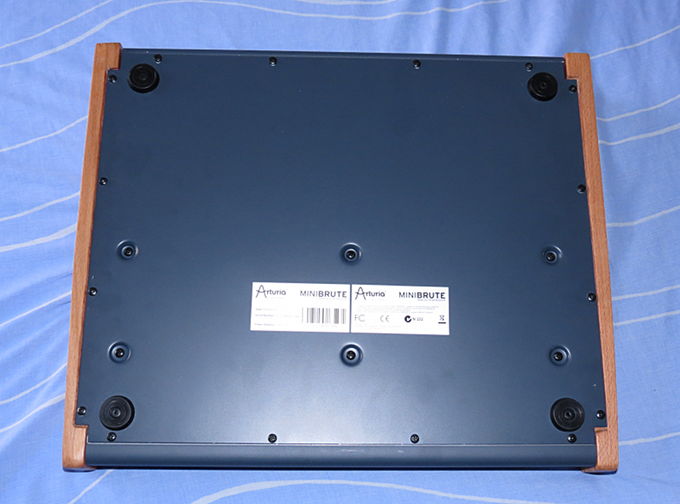 |
There we are ! 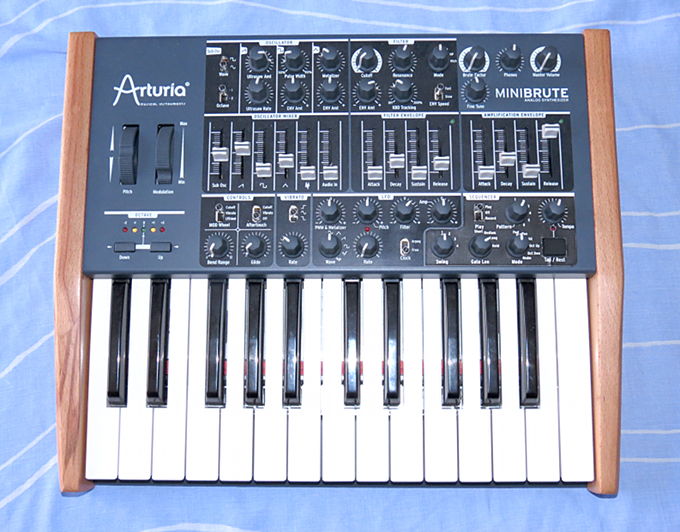 |
Two views of the MiniBrute back in the studio... 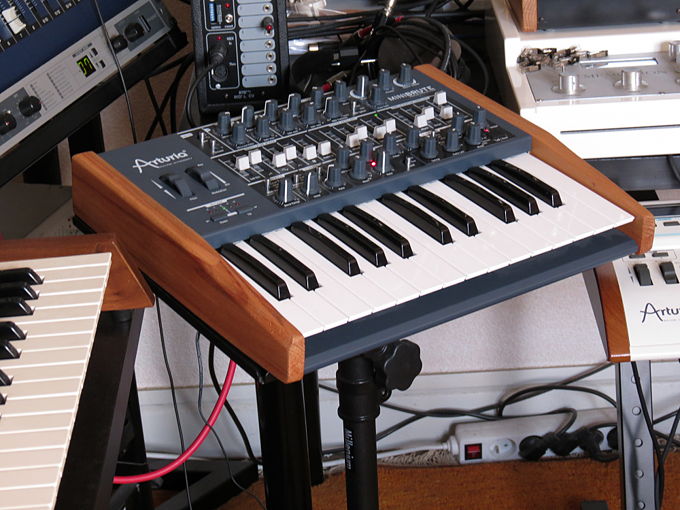 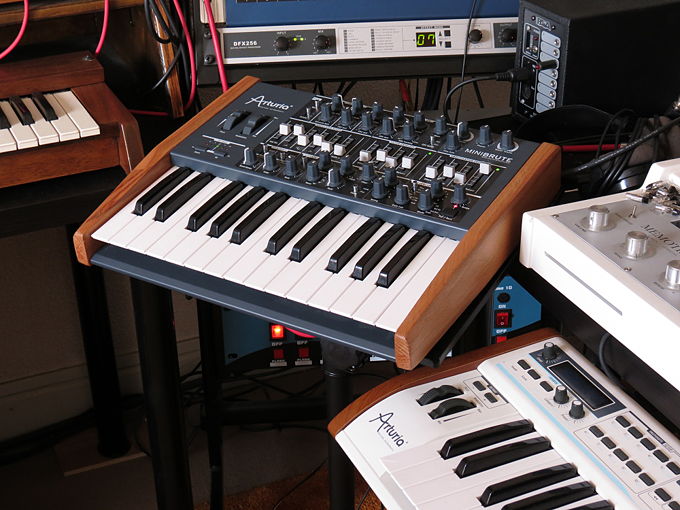 |